If you’ve enjoyed this blog post, the full cyanotype guide goes deeper into every step—perfect for creatives who want more confidence, more control, and more artistic payoff. Here’s what you’ll find when you purchase the full guide:
Complete Supply Lists & Material Recommendations — Not just the basics, but premium options, sources, and hacks. I cover all you need: from paper types to coating tools, chemicals, UV light sources, and even preservation materials.
Detailed Step-by-Step Technique — Each stage broken down with illustrations (or photos) and pro tips: coating, arranging compositions, exposure timing, development, fixation, and rinsing.
Creative Variation & Advanced Techniques — How to experiment with layering, toning, double exposures, unusual surfaces, textures and mixed media to make truly unique prints.
Troubleshooting & Fixes — Why some prints come out too pale, why edges blur or uneven coating happens, how to adjust when light conditions change, and long-term preservation strategies.
Printable Quick Reference Guide — A one-page pull-out chart you can keep near your workspace: exposure times, do’s & don’ts, and quick fixes.
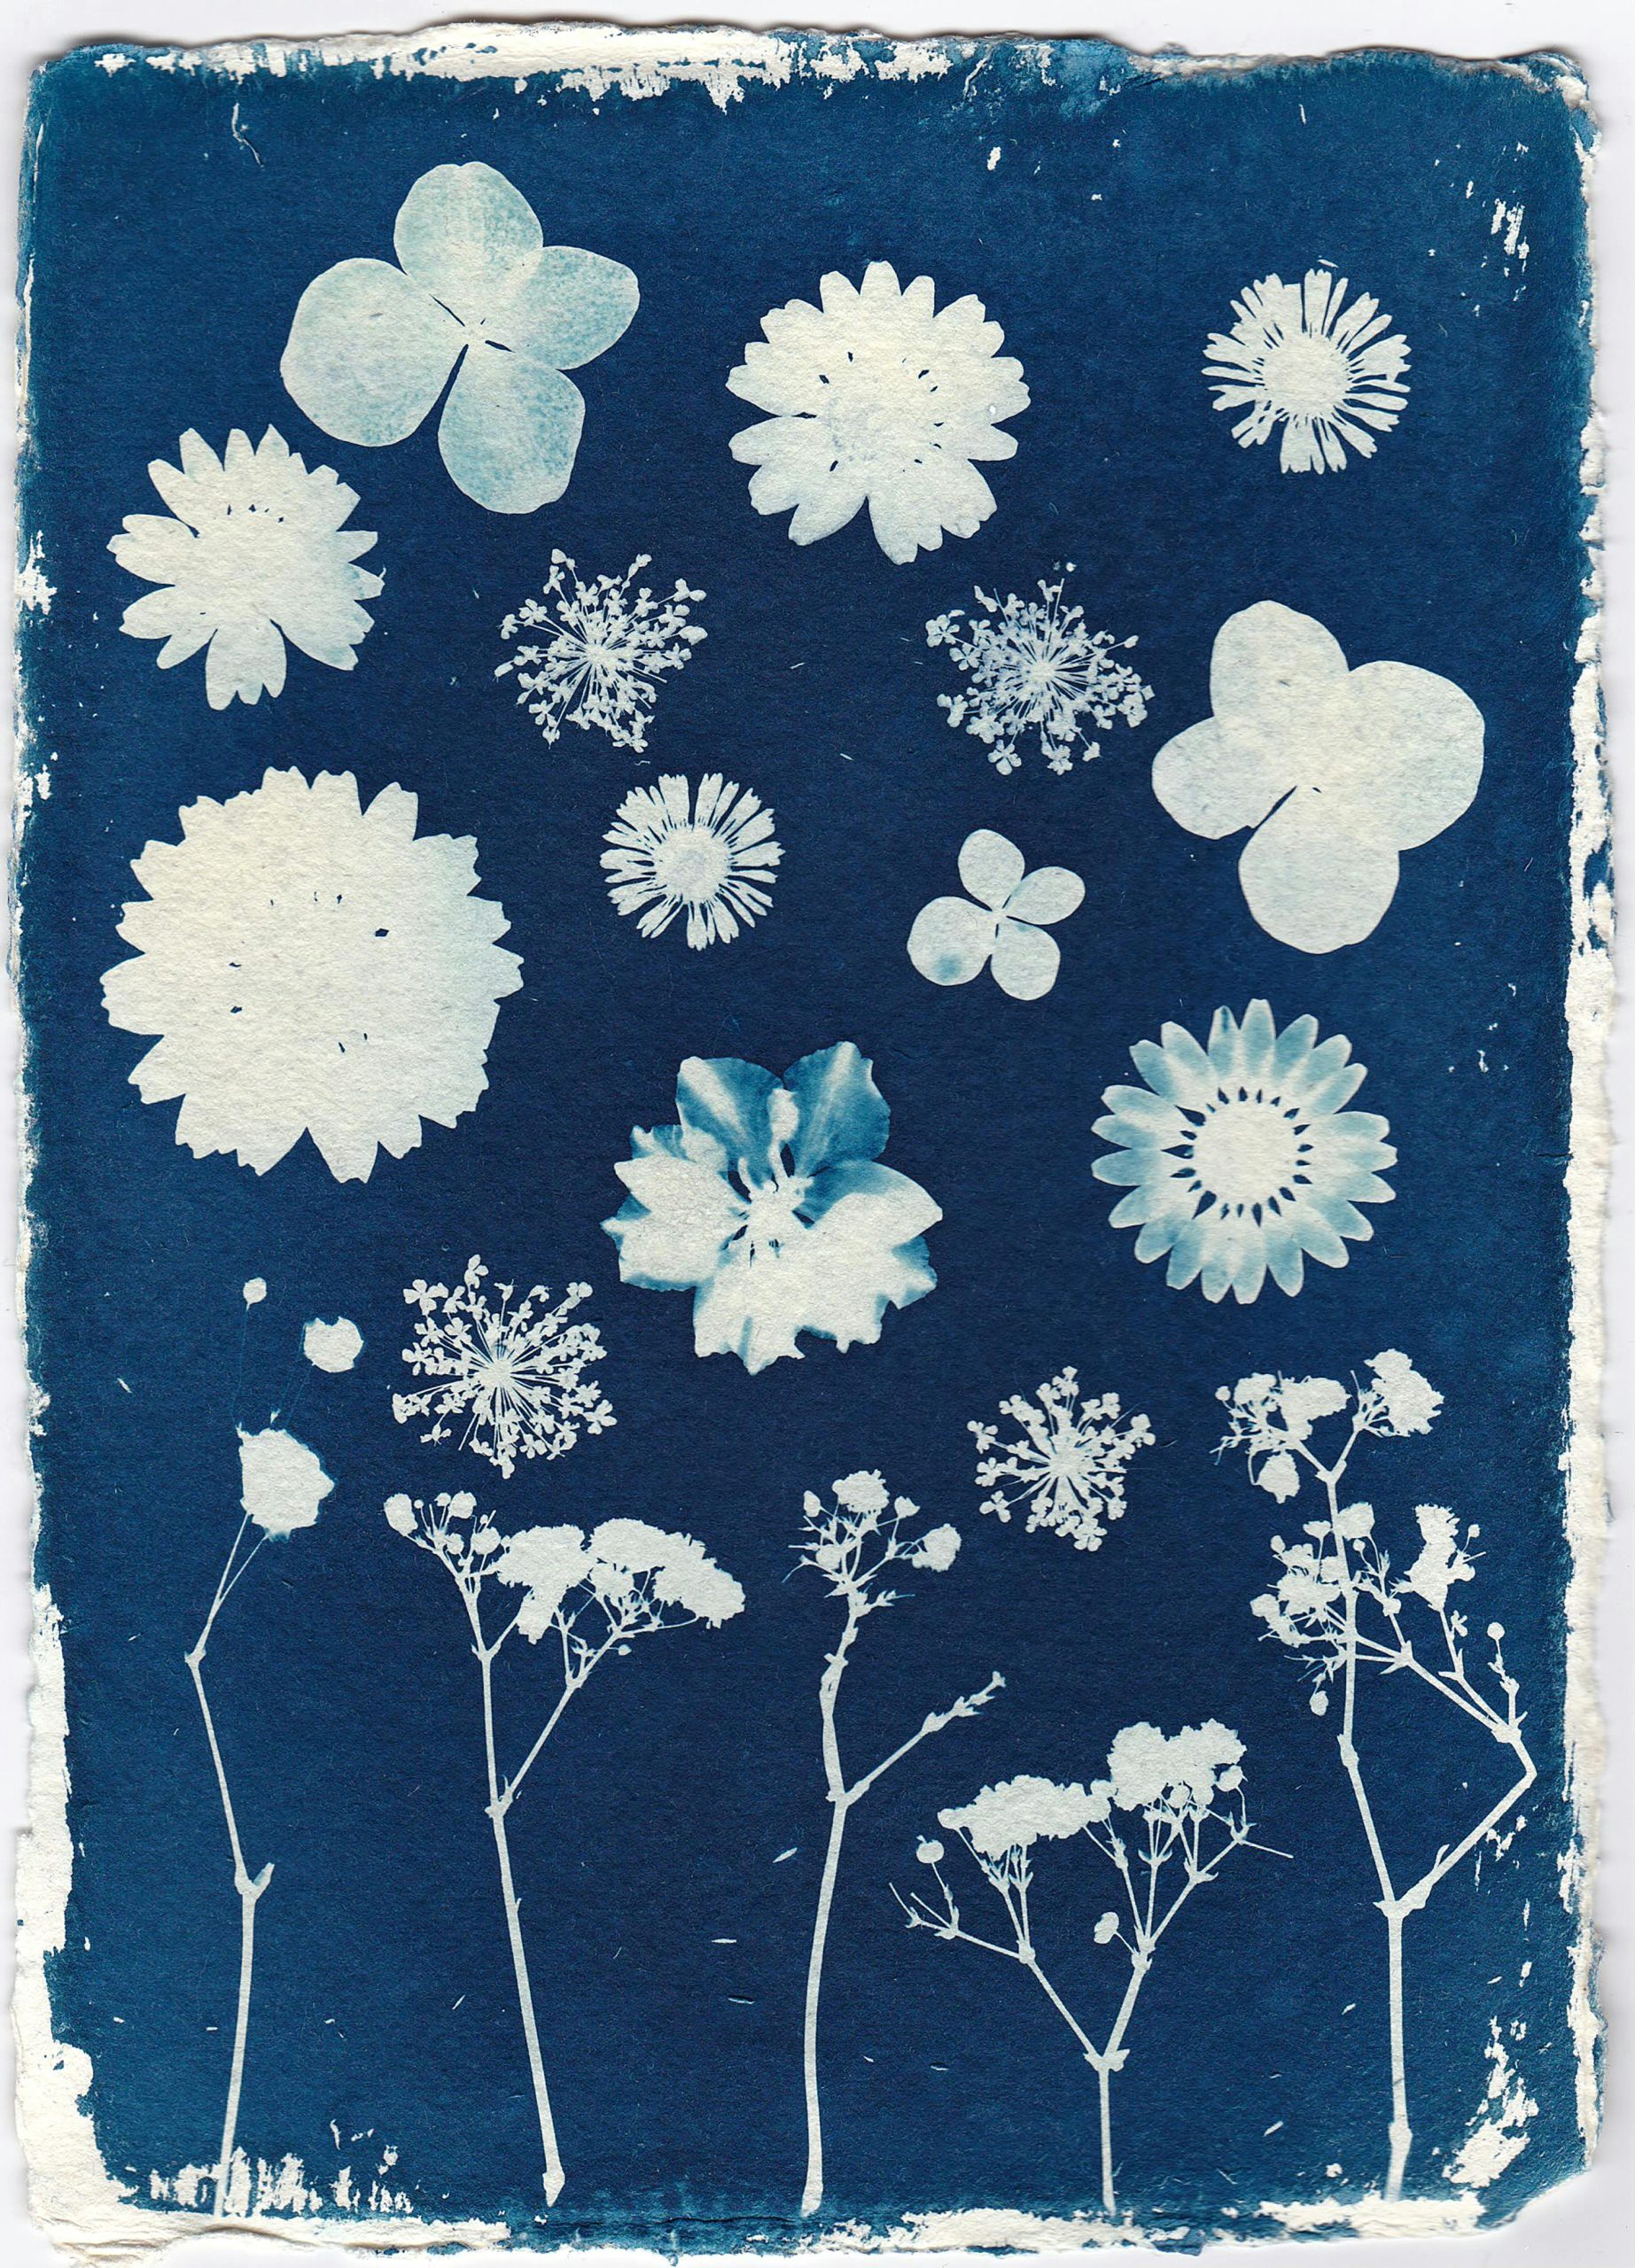
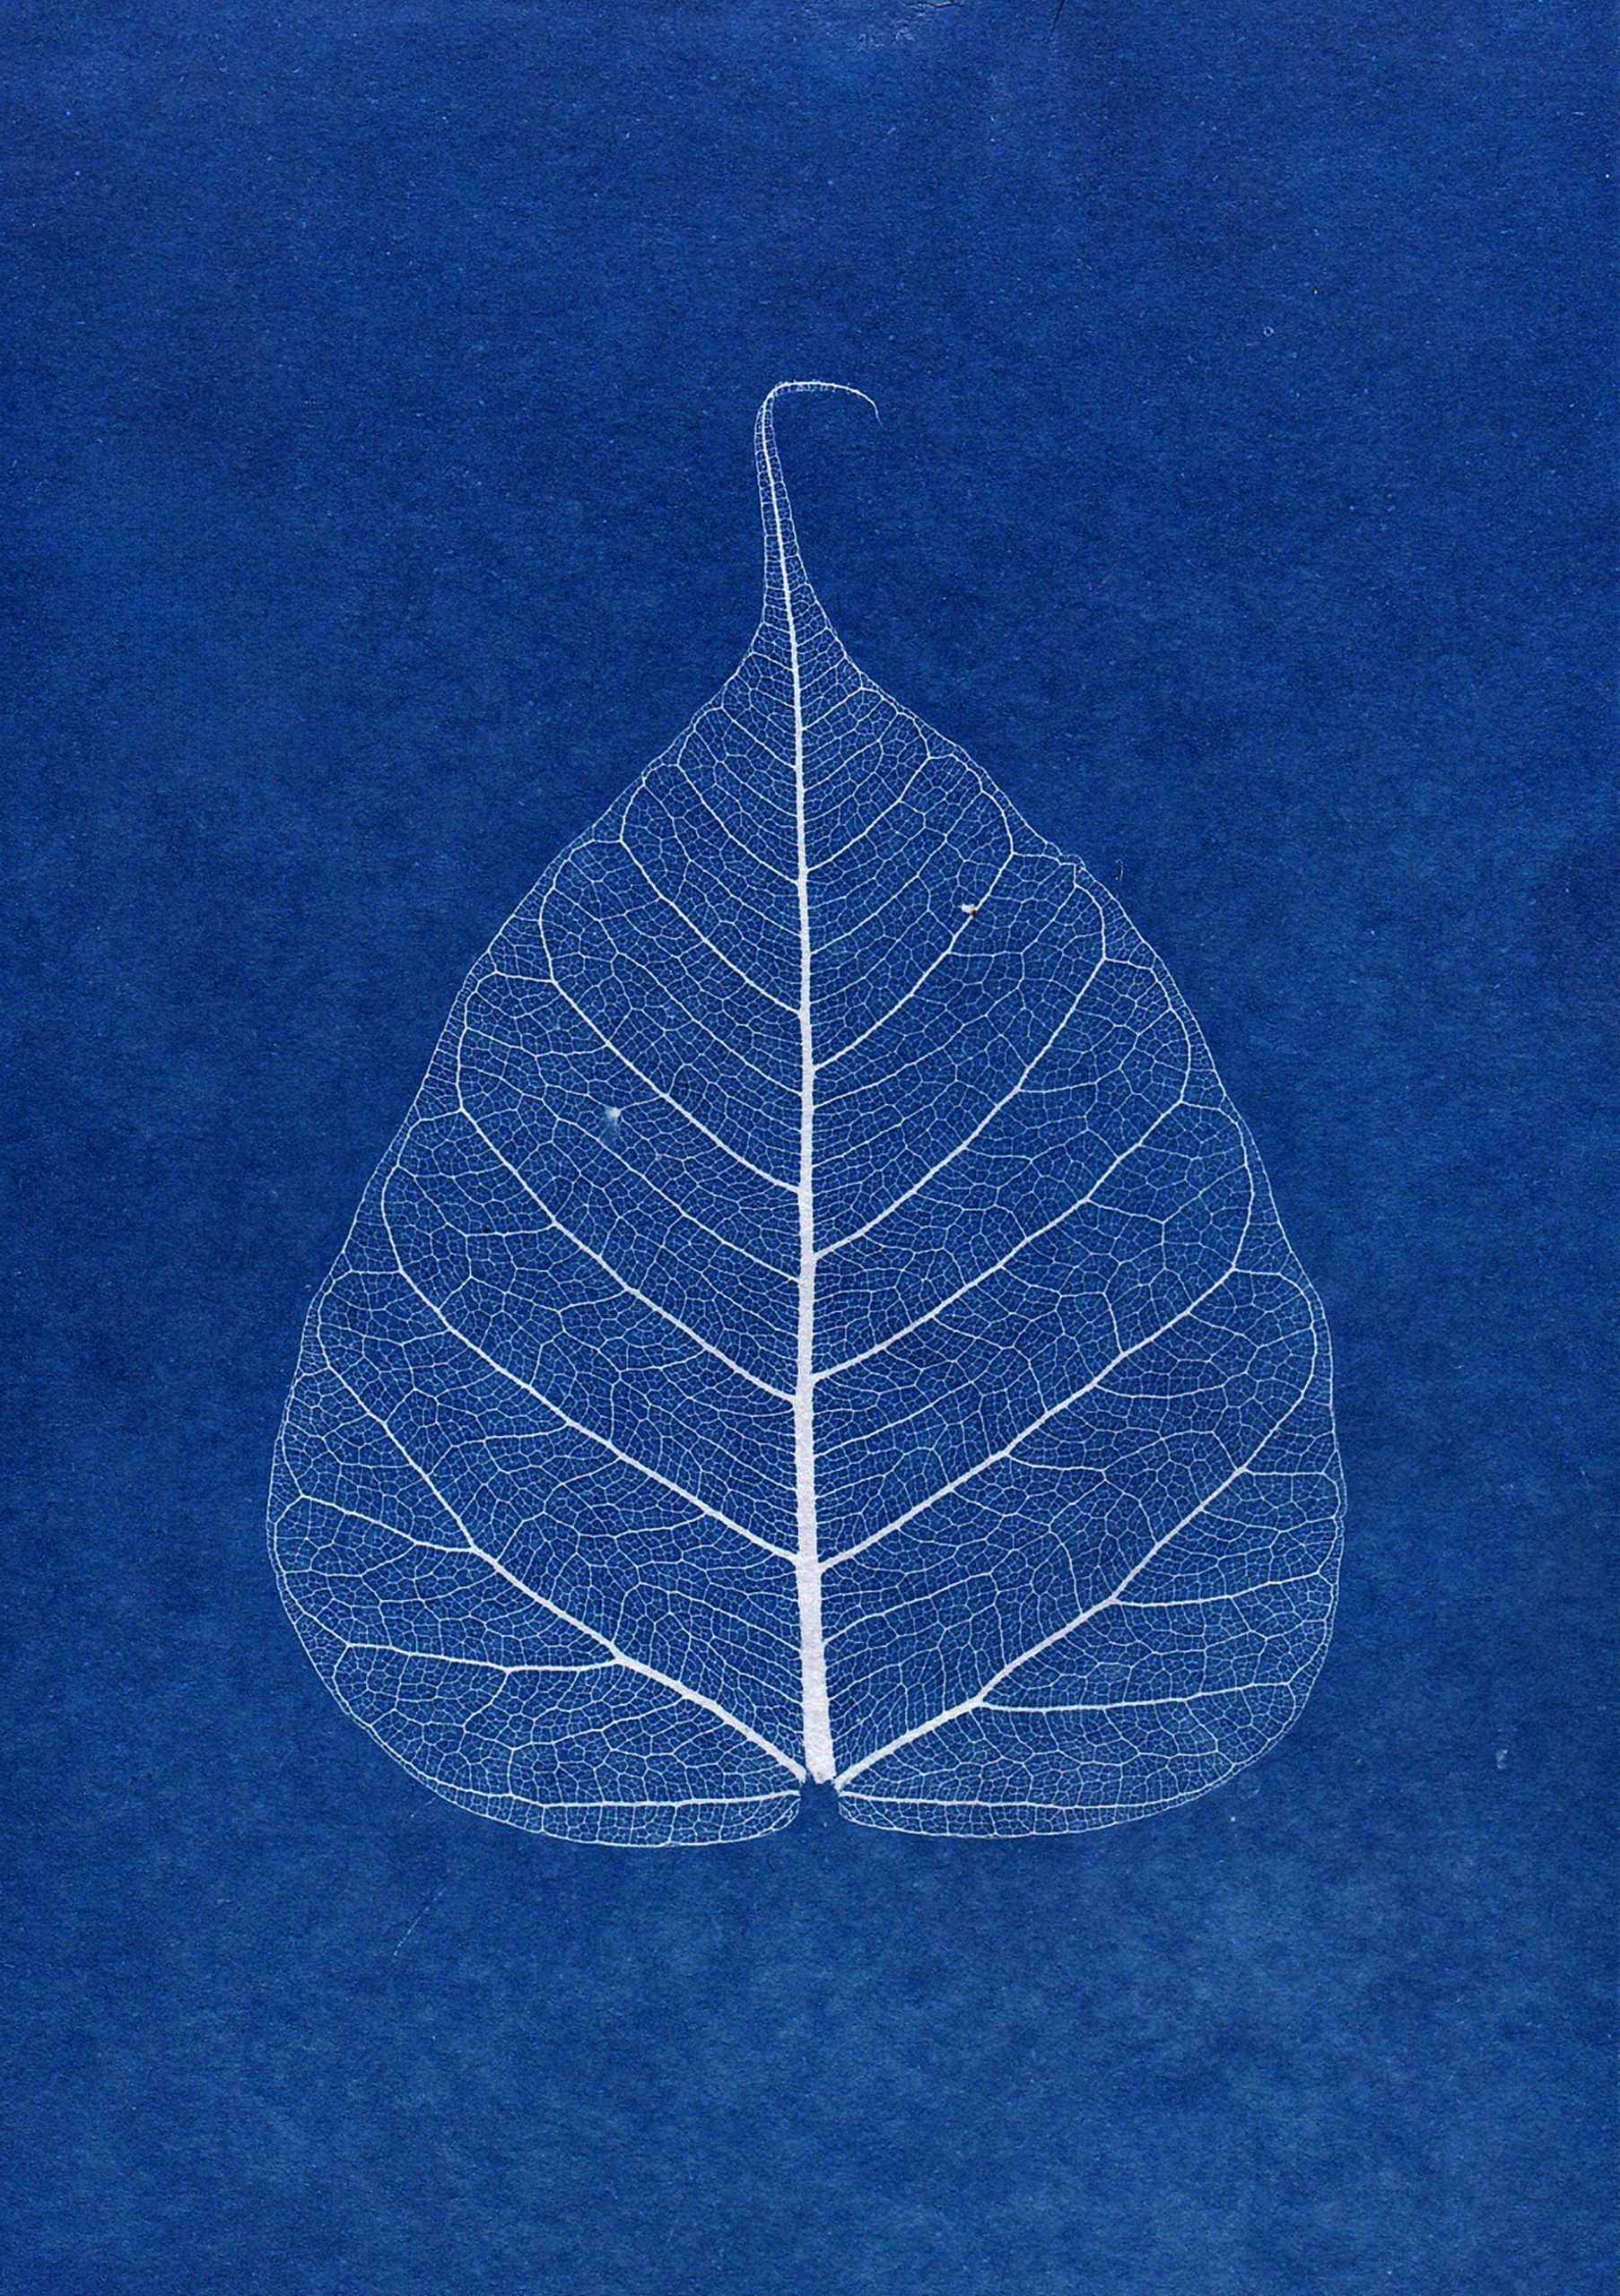
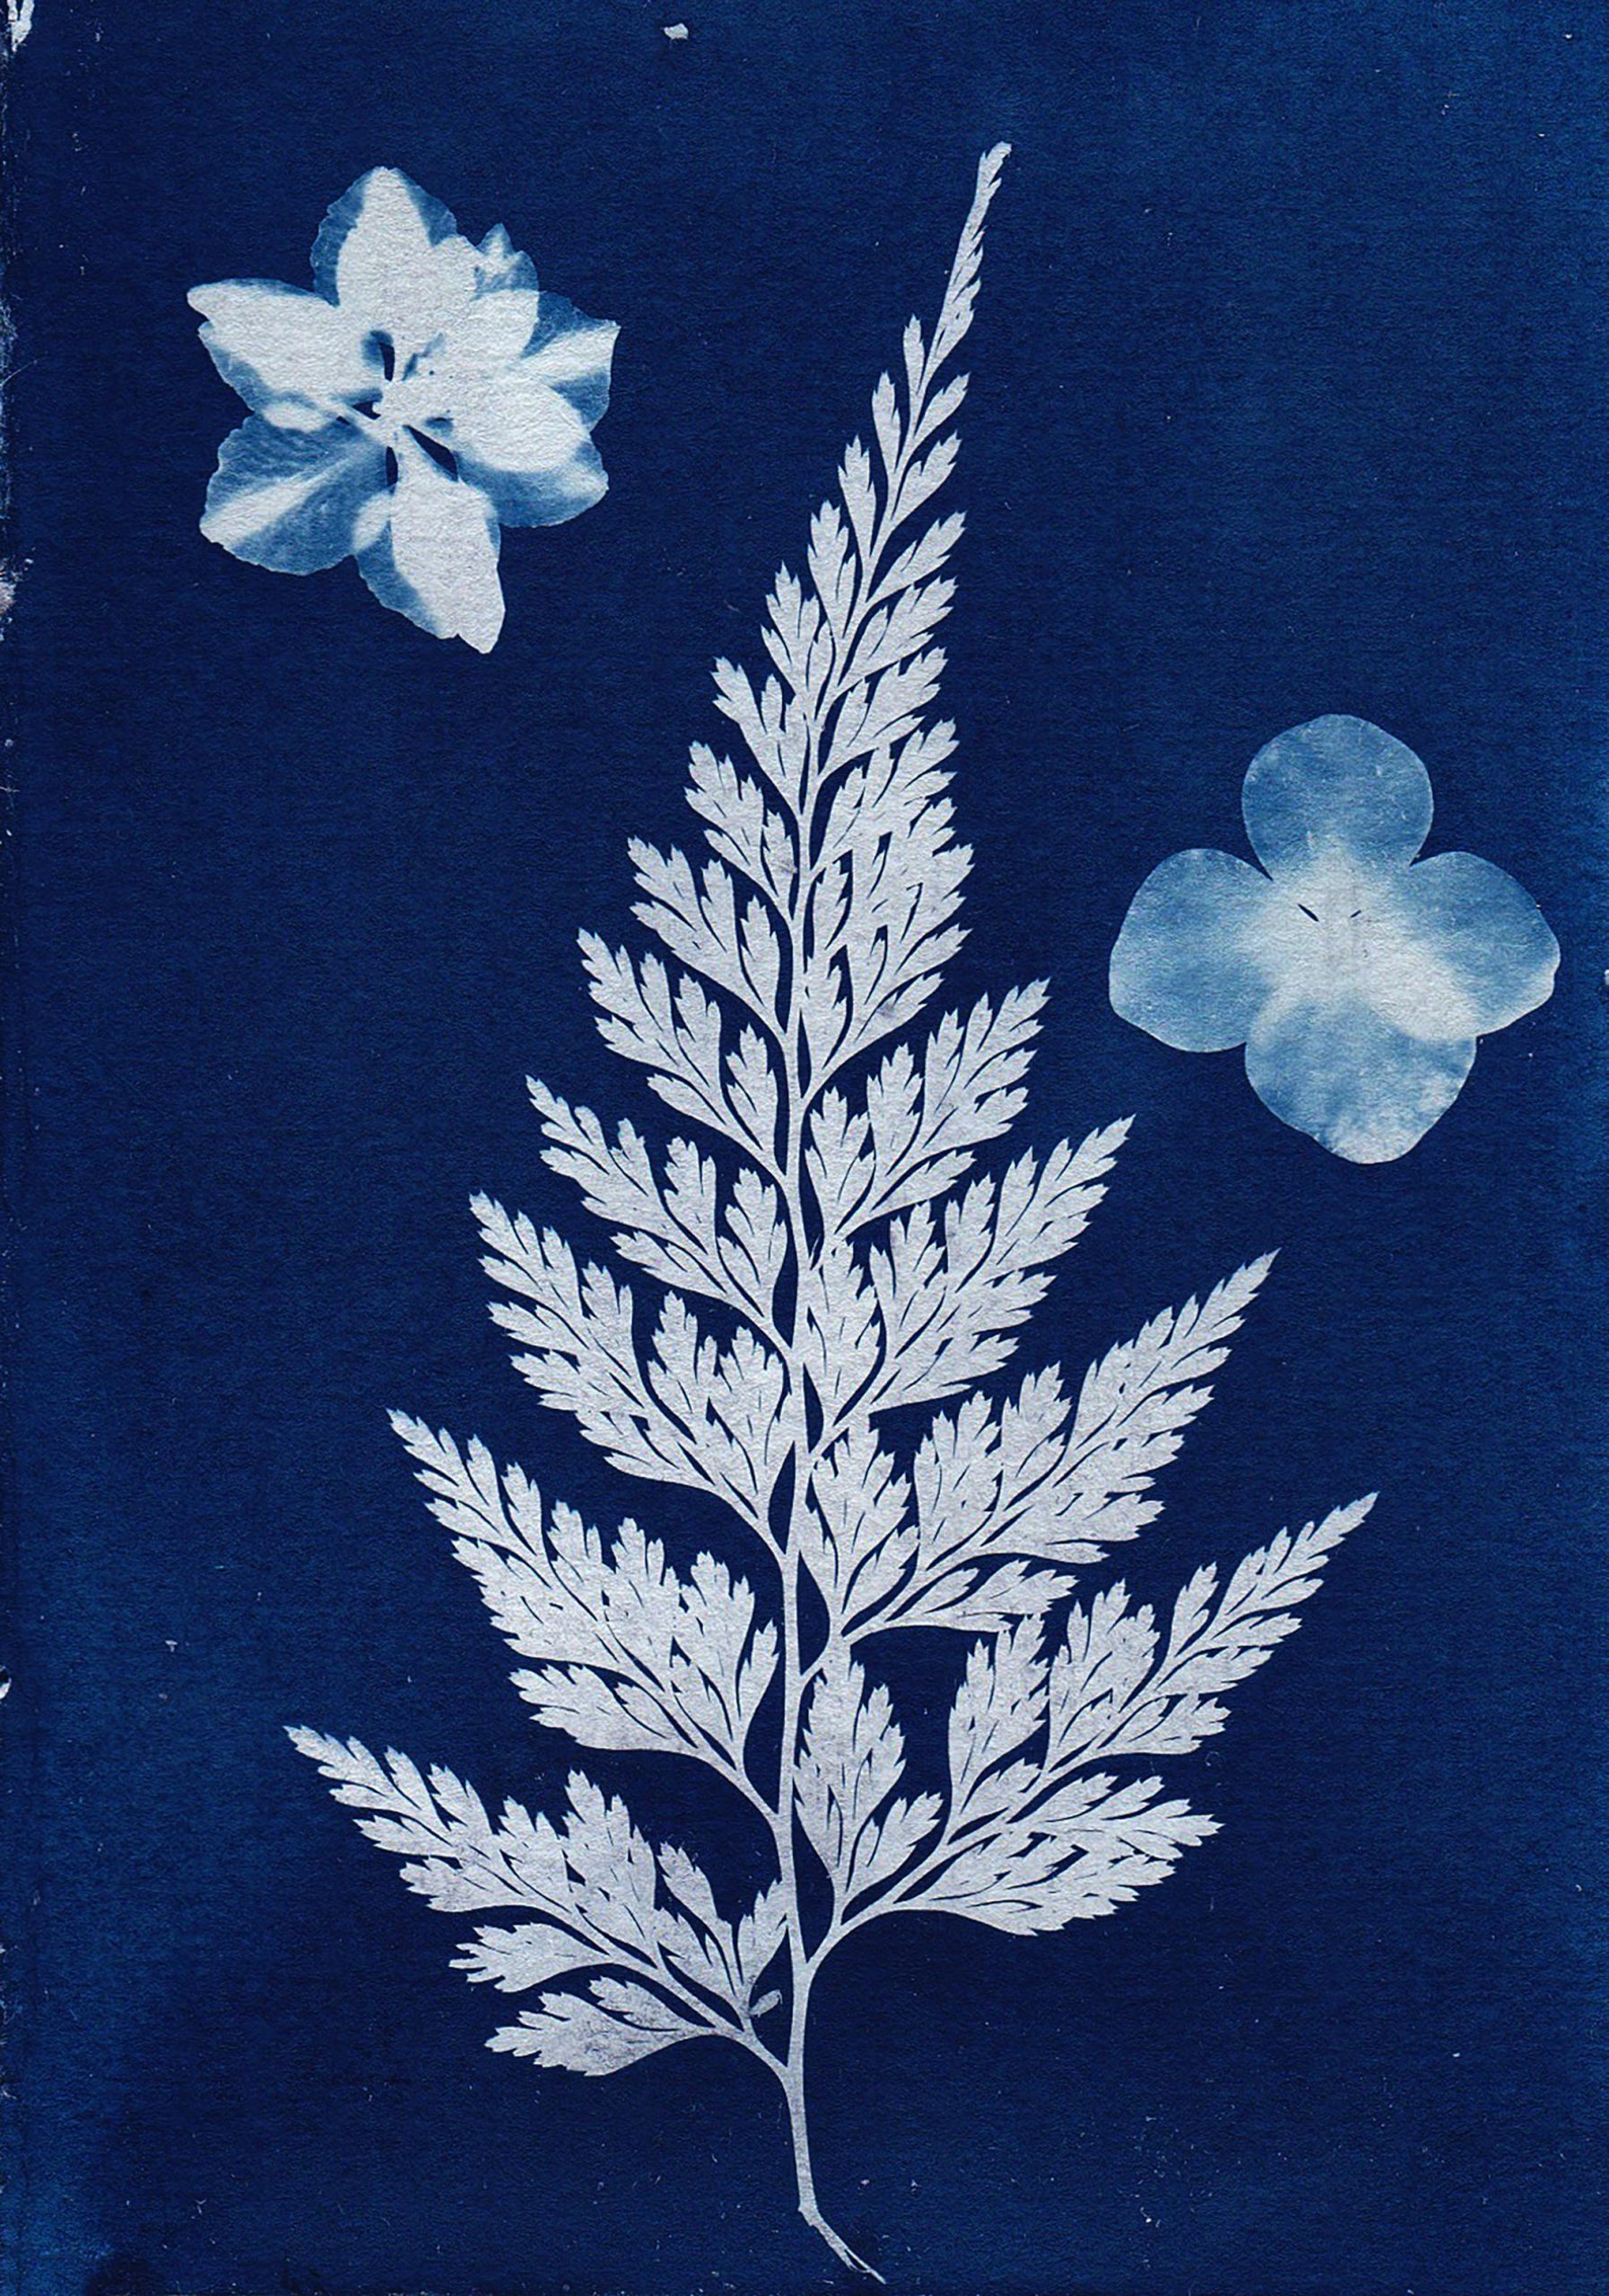
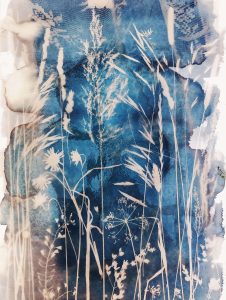
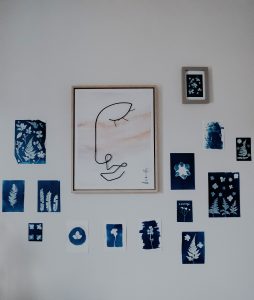
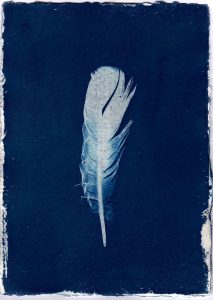
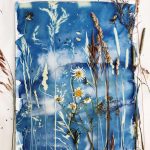
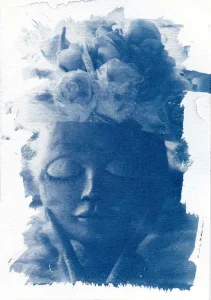
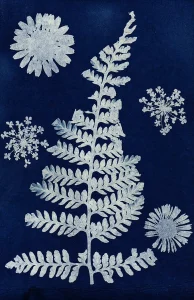
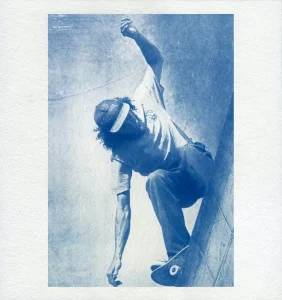
Inspiration & Ideas Gallery — Several full-size examples of cyanotype art for inspiration, along with creative prompts and commentary to help spark your own projects.
")